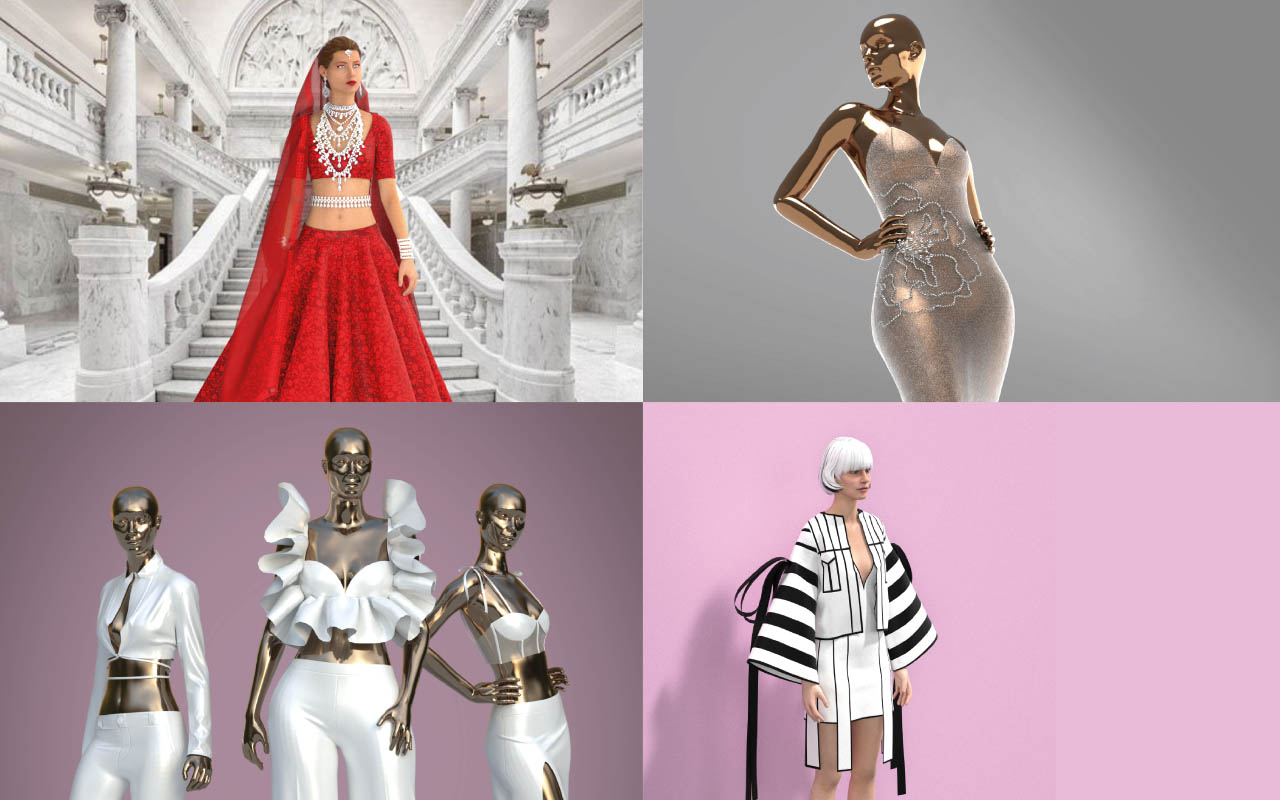
Clo3D and Digital Draping Course

COURSE CURRICULUM
Session 1
● How to Install the software.
● Introduction of the software, industry needs, benefits and categories under fashion who can make the most of CLO 3D, job opportunities.
● Window Explanation (Library, History, Modular configurator, Object Browser, property Editor) 2D & 3D workspace & basic Settings.
● Avatar properties (Customize avatar, Hair style, Poses application, Size variations, shoes application, texture details).
● Hangers, Customization of hangers, adding more than one hanger to the frame.
● Zoom options, Navigation.
● Gizmo properties.
● Camera options, Custom view and saving custom views.
● Create a basic garment and save that as a default garment onto the library.
● Add new folders to the library.
Session 2
● Convert avatar to mannequin, add texture and color.
● Customize avatar sizes as per customer size or your own size.
● Mesh tool.
● Fit map: understand the accuracy of the garment to extract the patterns from the software and use it real.
● Basic make-up: Hair color, eye brows, lip shape and color, skin color etc.
● Update software: add more free fabrics from different links and load your software with lot more options to work with.
Session 3
● Fabric properties.
● Avatar properties: hide avatar, create your own pose and save it to the library.
● Garment properties, hide or active lines and stitches on the garment.
● High quality render options.
● Develop Basic bodice.
● Sewing, Alteration, Stimulation, Zipper.
Session 4
● Finishing of Basic Skirt.
● Flared skirt with pivotal method.
● Circular skirt with waist band.
● Fabric & Print application.
Session 5
● Develop a Yoke top with gathers.
● Learn Panelling, merging.
● Layering.
● Pleated Dress (knife pleat, box pleat etc.
● Reverse direction of the pleats.
● Auto Grading.
Session 6
● Basic sleeve development.
● Sleeve manipulation.
● Elastic application.
● Ruffles.
● Bell sleeve, slit application.
● Bishop sleeve.
● Puff sleeve (Slash and spread method).
● Making of Leg-of-mutton sleeve.
Session 7
● Basic Animation: Adding motion, Stage setup, adding a background image, settings.
● Recording.
● Color changing while recording the animation.
● Changing angles while recording the animation.
● Free Images for background (website).
● Saving Image from 3D window with background and the settings.
● Developing Accessories.
● Saving poses from animation.
● Creating your own stage.
● Developing Curtains.
Session 8
● Graphics Application (Sourcing files from a website, properties of the same, material settings).
● Embroidery application and the realistic effect of the same.
● Normal Map: Sourcing more options.
● Displacement map (creating sequence fabric from starch, creating displacement for graphic files).
● Advance make-up on photoshop.
● Print development using motifs (PNG files).
● Final result on render window.
● Accessories Application through Graphic options.
● Examples.
Session 9
● Making of Bikini with a 3d pen (Avatar tool).
● Under wire and adding bows / Lace / ruffles.
● Examples.
Session 10
● Easy to draft corset (boning effect).
● Corset tie-ups.
● Eye lid application and settings.
● Top stitches application.
● Types of stitches and customization.
● Create your own embroidery.
● Apply sequin on topstitch.
● Create beads and apply them as top stitches.
Session 11
● Denim draft (Jean).
● Yokes, patch pocket, side pocket, Fly application.
● Buttons and button hole.
● Button properties: covert buttons into embellishments, customize buttons of your choice.
● Zipper, Loops.
● Puckering.
● Ripped effects.
● Wash effects.
● Raw edges on Denim.
Session 12
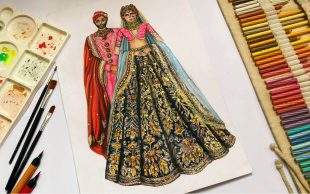
● Making of Bridal wear using traditional embroidery or motifs to complete the look.
● Draping (zero waste garment).
● Demo on Saree drape.
● Examples.
Session 13
● Accessories Development: create your own designer Accessories and style your avatar to complete the look, learn all the tricks of customizing the accessories.
● Render window.
● Image / Video settings.
● Light option and properties.
● Camera options.
● Render settings.
● Adding background image / HDR files.
● Final render options.
● Saving options.
Session 14
● Turn table and the properties.
● Saving format.
● Quilting: Puff jacket.
● Add lining to any garment and press tool.
● Create a flower.
● Adding more than one project to the same file, settings and tricks to follow.
● Examples.
Session 15
● Advanced animation (sourcing motions and poses, file format, settings).
● Rendering animation with different properties and settings.
● Rendering a Turntable.
● Stage Lighting.
● Examples.
Session 16
● 3D object (sourcing objects, file format, import settings).
● Pending tools and revision.
● Substance fabric properties and settings.
● Doubts clarification.
● Final project discussion.
Who will you learn with?
Sessions: 16 (2 Sessions / Week)
Recordings: Provided for 4 Months
100% Online Class
Certified Course
Course Starts: 29th January 2024
Days: Tuesday - Thursday
Time: 9:00 pm to 10:30 pm
Seftian Feedback
Other Courses You Might Like
Professional Styling Course
Styling CourseDuration: 2 Months. Sessions: 16 (2 per week). Recordings: Provided for 96 Hrs. 100% Online...
₹27,999₹24,999Personal Styling Course
Styling CourseDuration: 1 Month Sessions: 8 (2 per week). Recordings: Provided for 96 Hrs. 100% Online...
₹27,999₹24,999Pattern Making and Sewing Course Level 2
Pattern Making & SewingDuration: 2 Months. Sessions: 9 (1 Session / Week). Recordings: Provided for 2 Months. 100% Online...
₹12,999₹9,999Intensive Fashion Certification Program
Fashion Illustration & Design ProcessDuration: 4 Months. Sessions: 34 (2 per week). Recordings: Provided for 96 Hrs. 100% Online...
₹27,999₹24,999LIVE Fashion Design & Illustration Workshop
Fashion Illustration & Design ProcessDuration: 5 Days. Sessions: 5. Recordings: Not Provided. 100% Online Class. Certified Course.
₹1,250₹999


